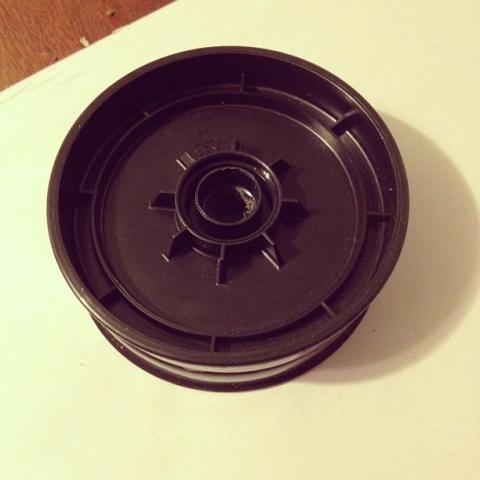
How-to: Transfer Ink from one tube to another
Steps
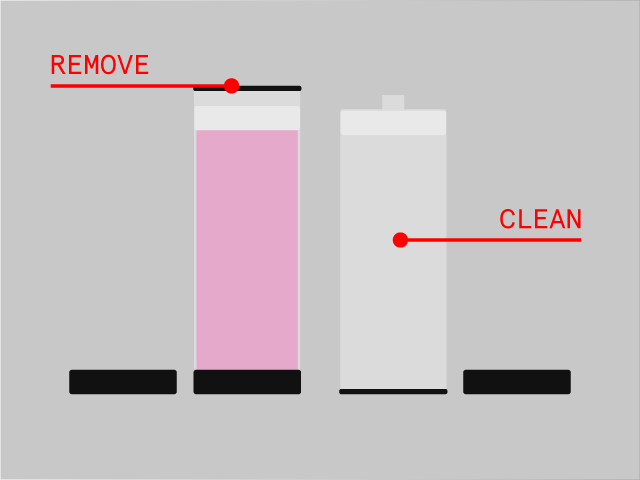
Use a pair of pliers to remove the black plastic cage from the bottom of the full tube of ink. Leave the cap on, as you will not be able to turn the tube upside down after removing this cage.
If the empty tube previously held a different color from the one you are transferring in, be sure to clean it THOROUGHLY. It can help to soak the tube in citrus solvent for a couple of days. Make sure every bit of the old color is gone before transfering in the new color. If you are transferring the same color, don't worry about it.
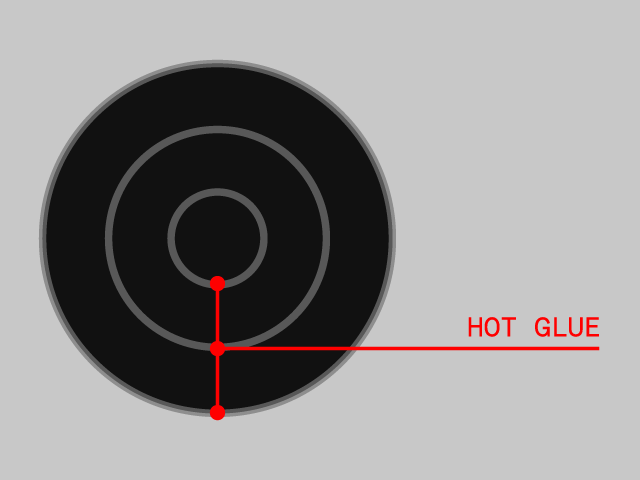
Find two used ink tube caps and use hot glue to afix them to one another top-to-top (so that threads are exposed on each side). Use circles of hot glue to lock-in the ink and prevent the adapter from leaking. The goal here is to make impassible walls of glue. Once the two caps are attached, glue around the seam to make the connection stronger.
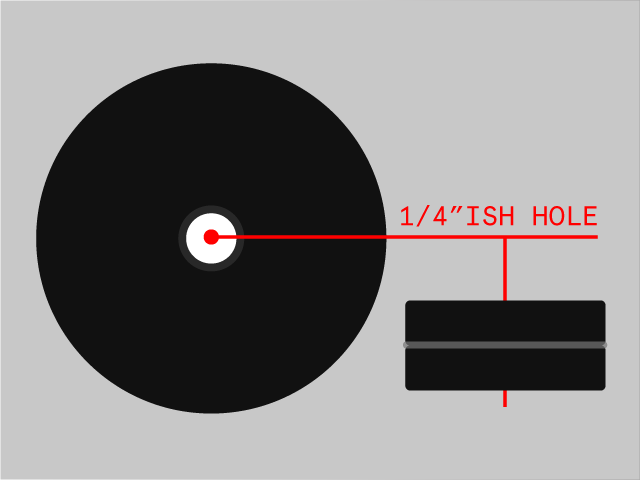
After the glue has dried, drill large hole down the center of the adapter
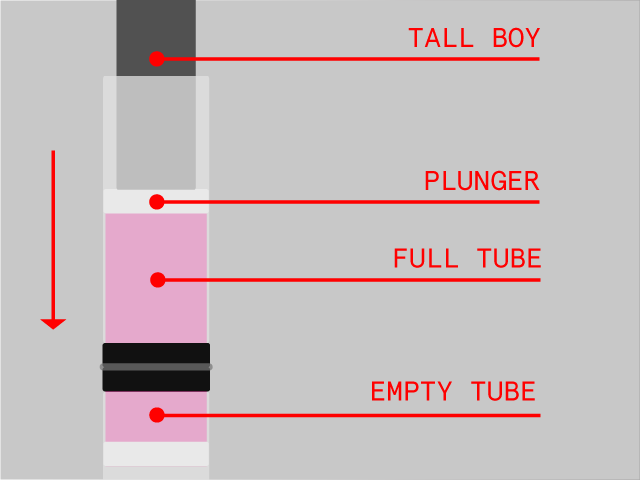
Screw both ink tubes in to the adapter, with the full tube on top. Use a tall boy beer can, bottle, or some other large cylinder to push the ink from the full tube through the adapter to the empty tube. It is important to use something wide-similar to the diameter of the ink tube-because otherwise the internal plunger can get pushed out of place, causing a huge mess.
And possibly the beer you used to transfer it!
