How-to: replace Collar Separator
Posted: 01 Nov 2020 14:04 by Topo Copy
Last edit: 03 Nov 2020 02:07 by Topo Copy

Steps

BEFORE
Collar Separator — almost totally disappeared by age
part can be found here: https://www.aliexpress.com/item/33052287581.html
pull out the drum and switch the power off
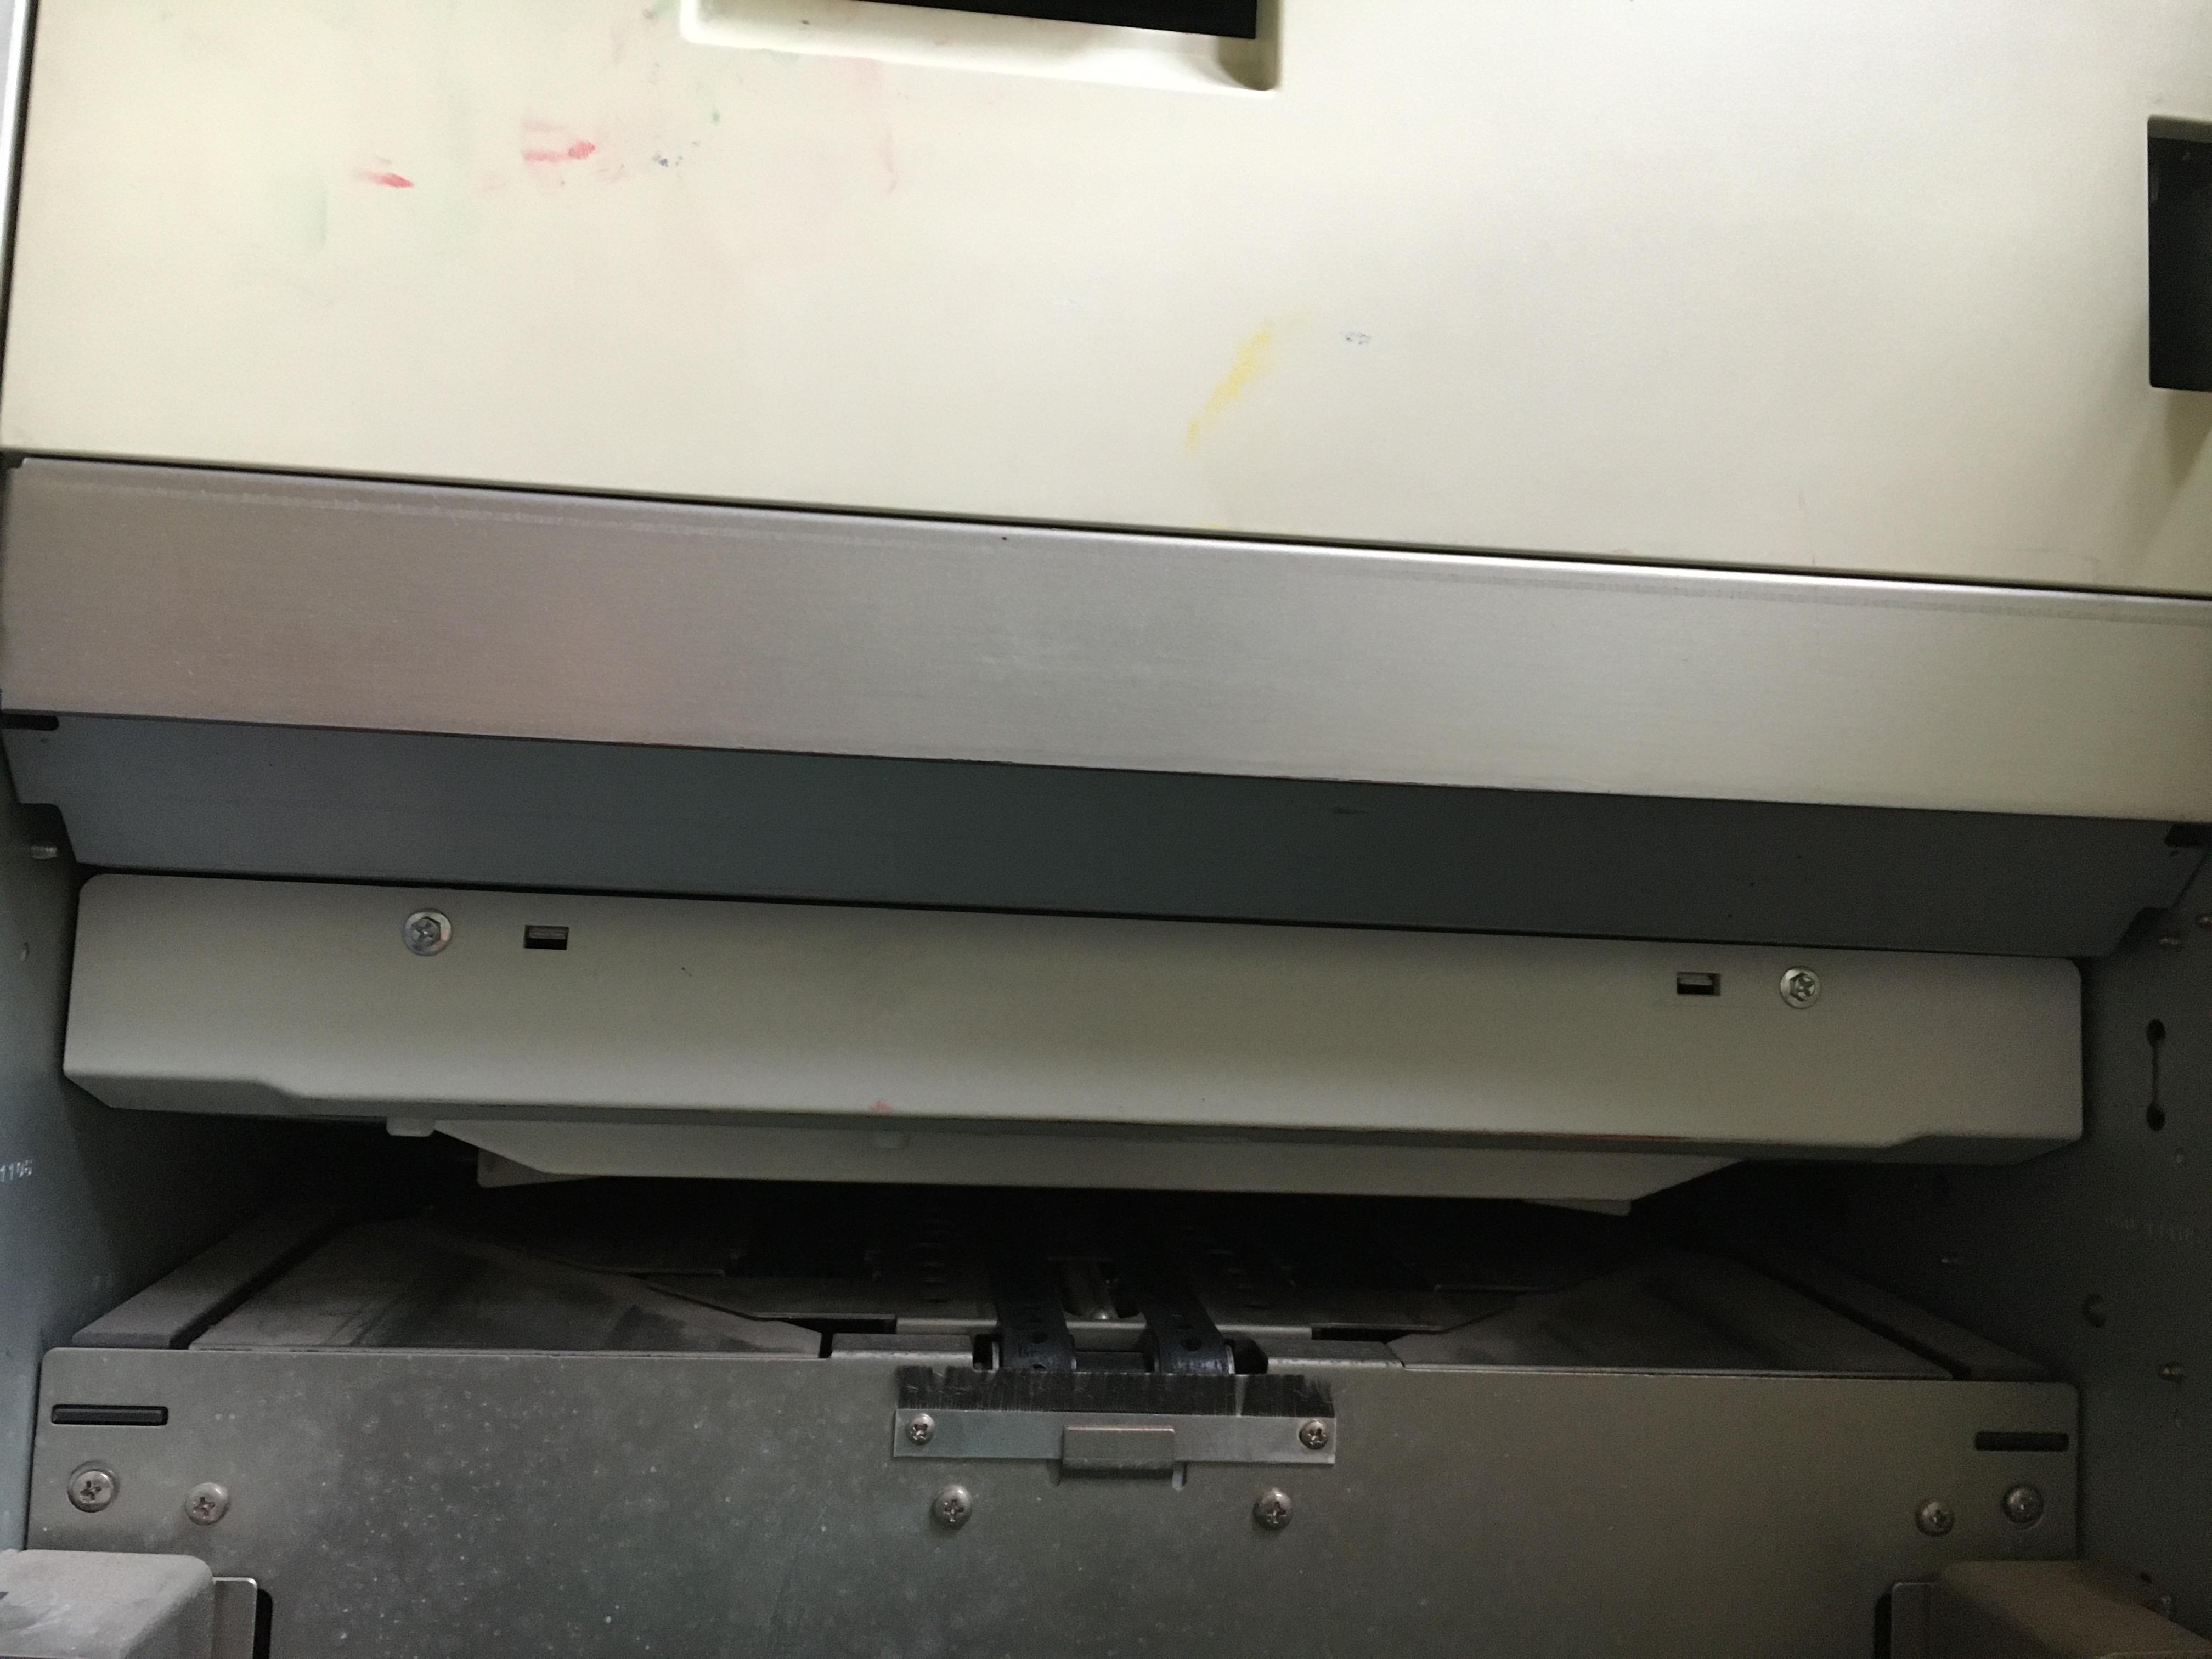
remove the separator-fan unit (2 screws in the back of the machine)
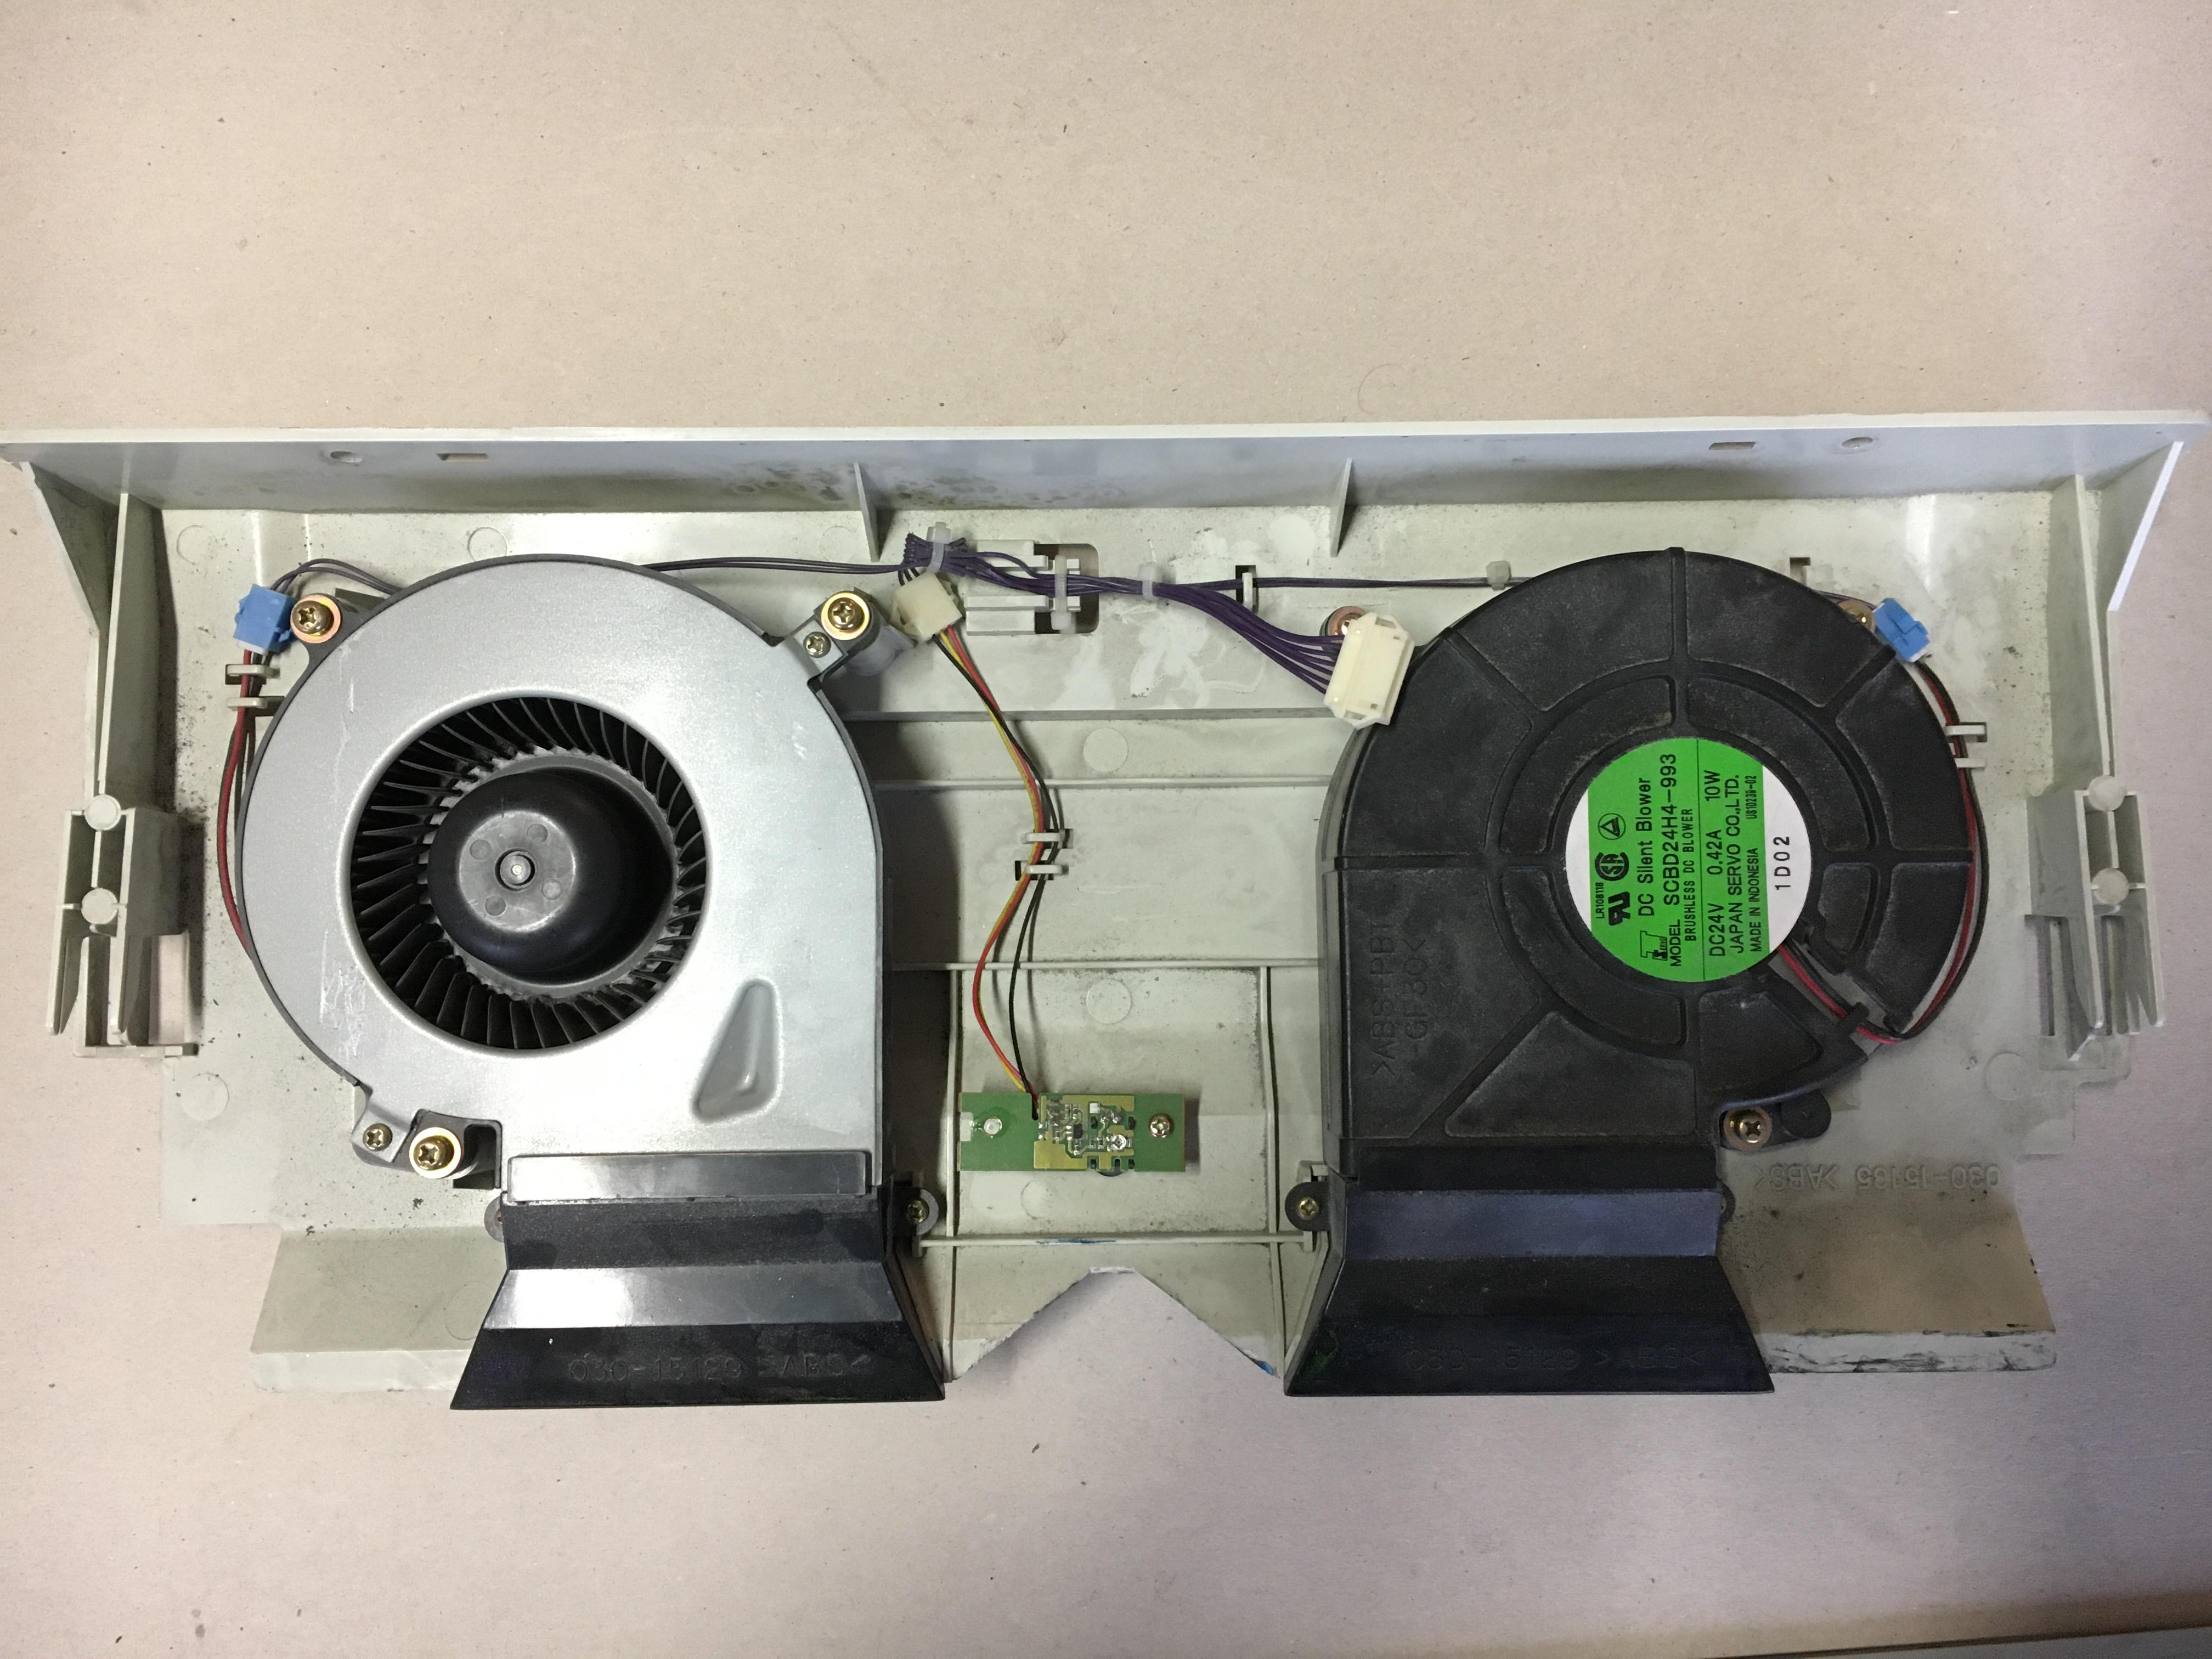
detach the purple cable and remove the separator-fan
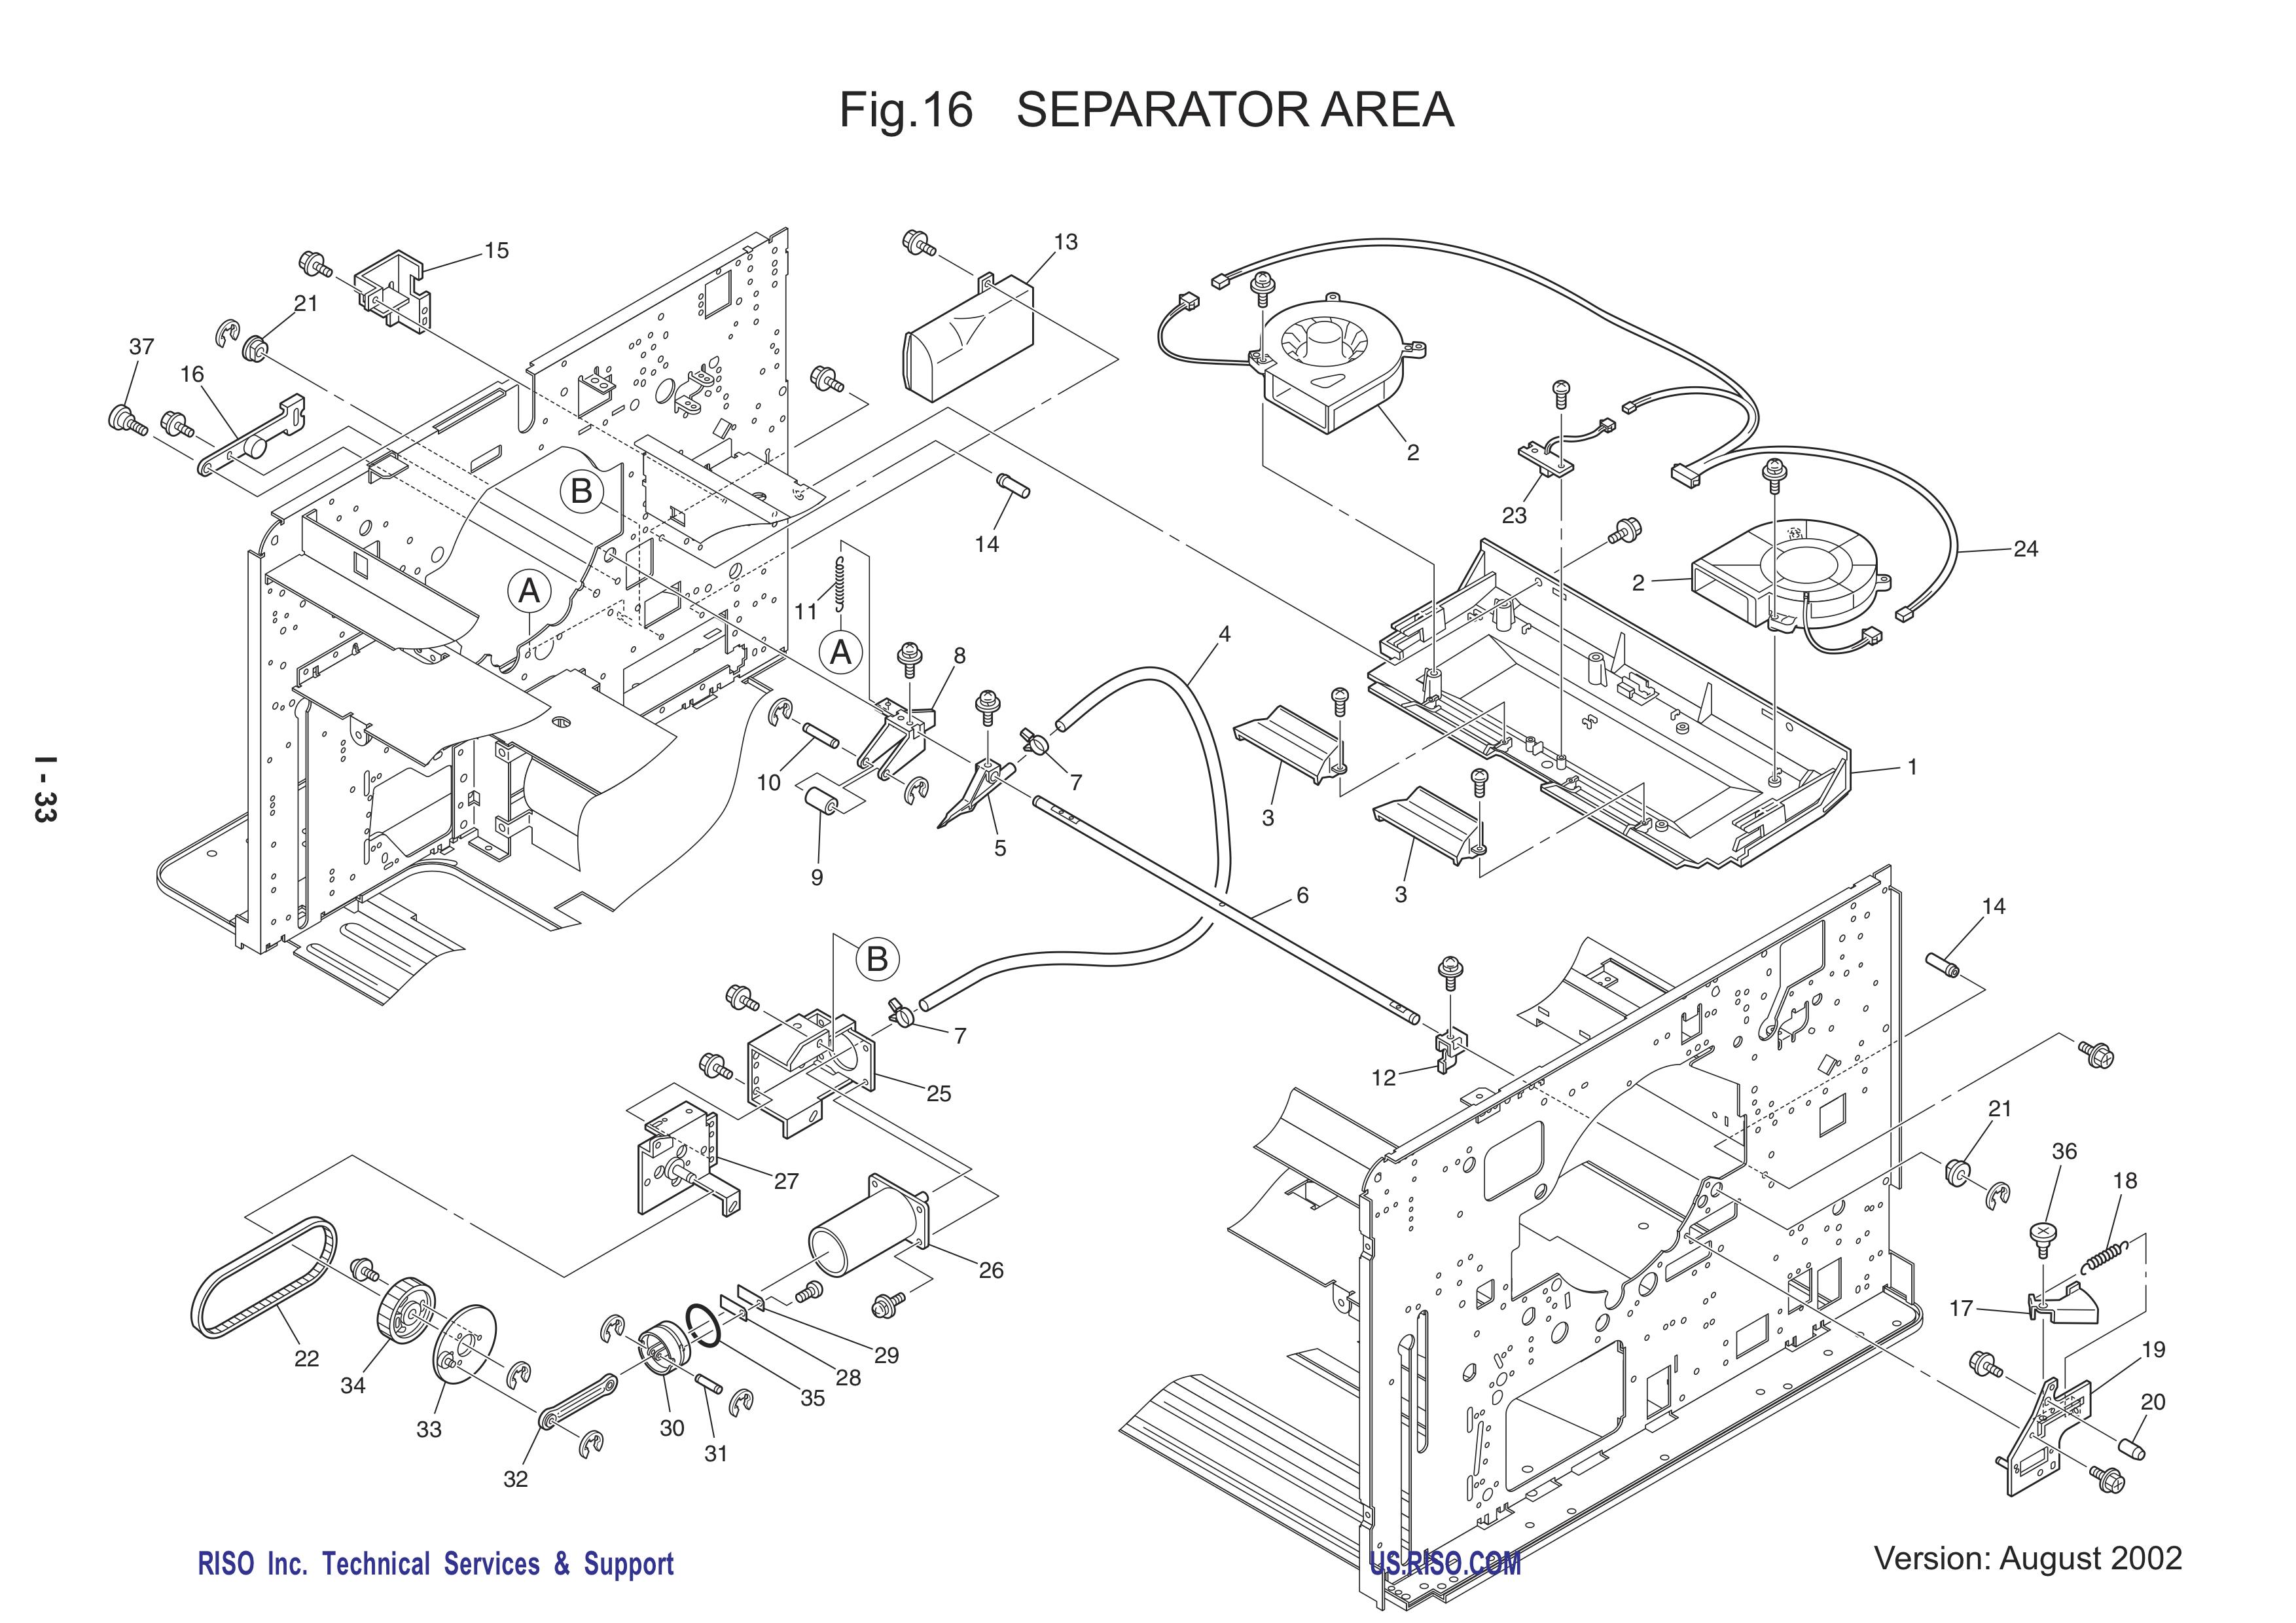
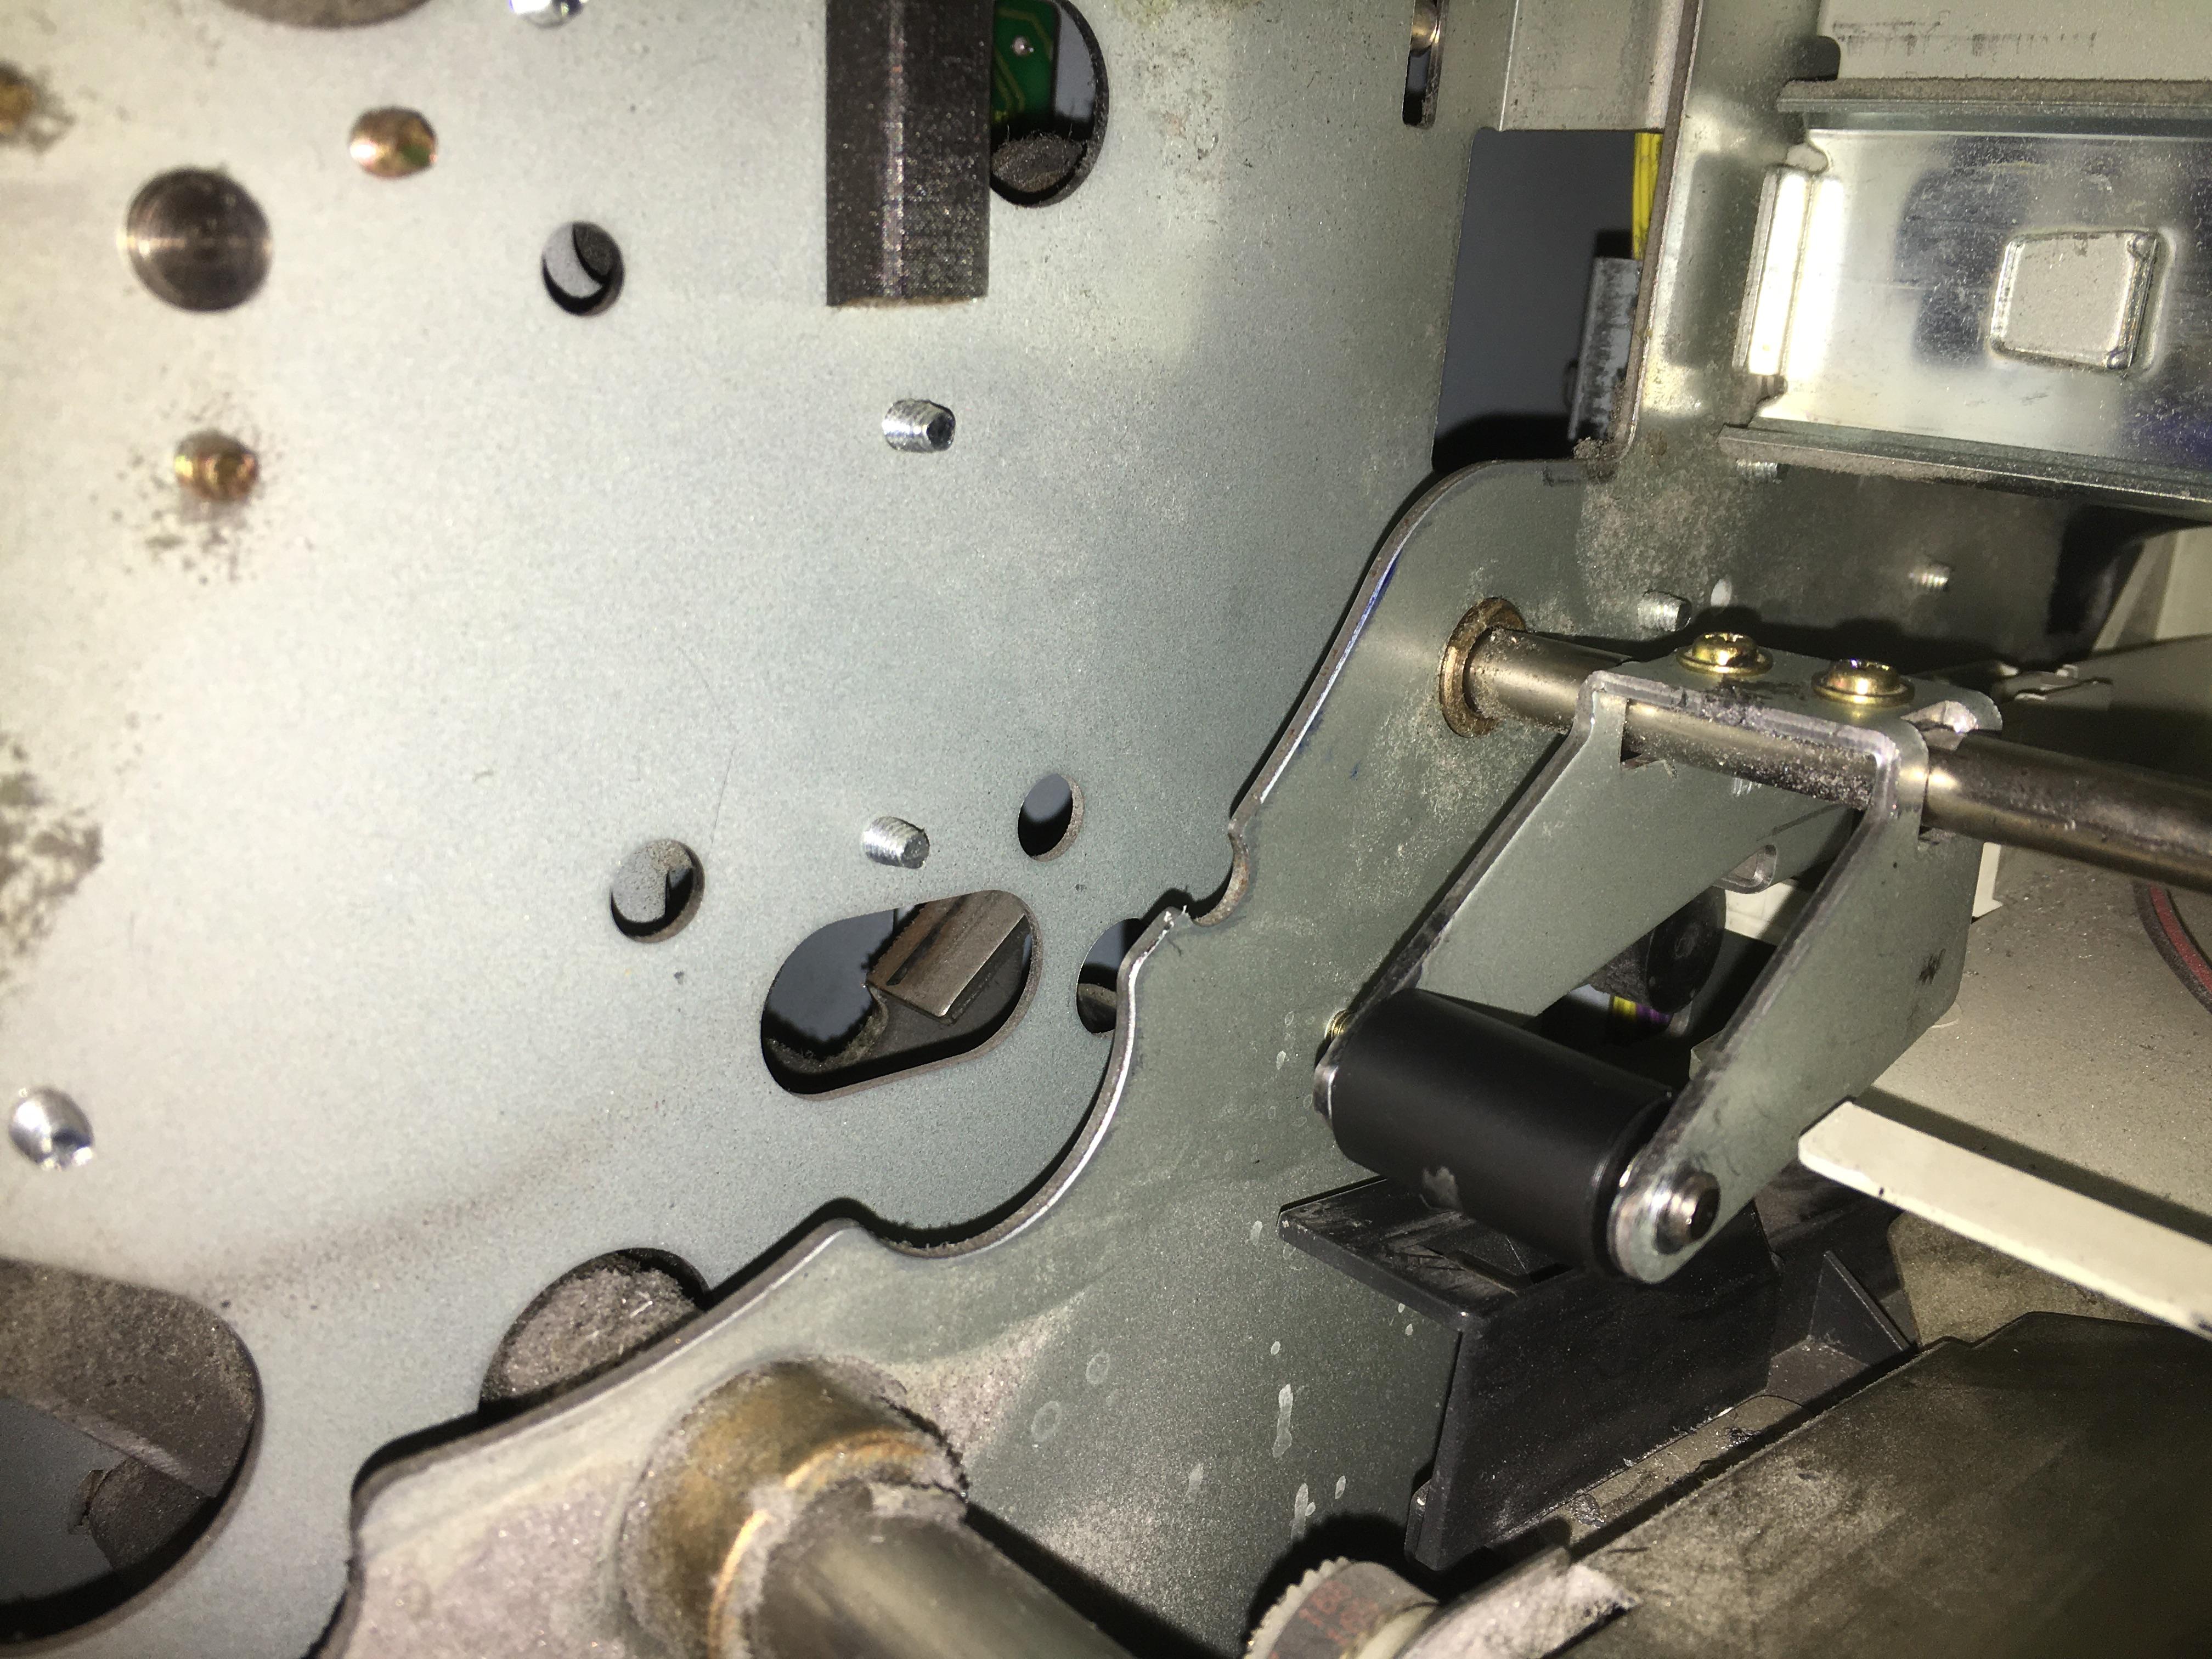
have a look at Fig.16 SEPERATOR AREA

take off the front clip of part 10 (the shaft - be careful because they almost always fly off and you don't want a loose clip vanishing into the depths of your Riso.)
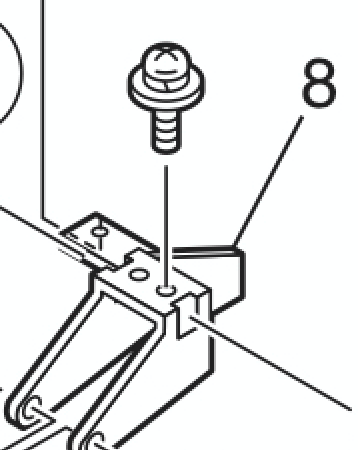
remove the 2 top screws of part 8 (lever separator).

part 8 (lever separator) is attached to a spring in the back (A). Leave it attached!
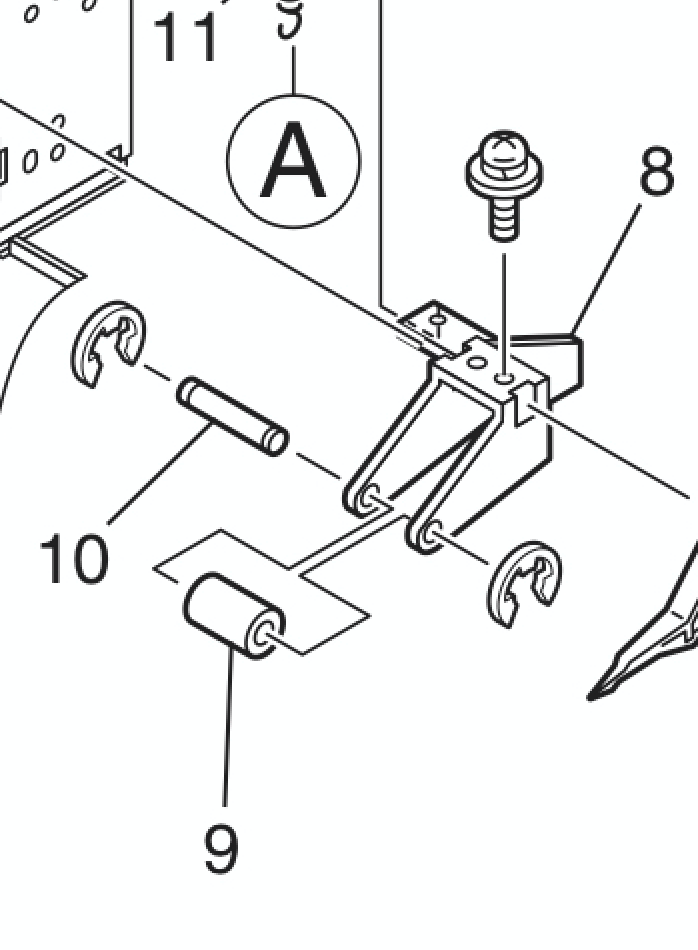
pull the lever (8) gently to the front so you can push out part 10 (Shaft; Collar; Separator) towards the back of the machine and just keep the back clip on.
replace part 9 (Collar; Separator) and push part 10 back in again
put the front clip back on part 10 (the shaft)
DONE
put back the separator fan unit
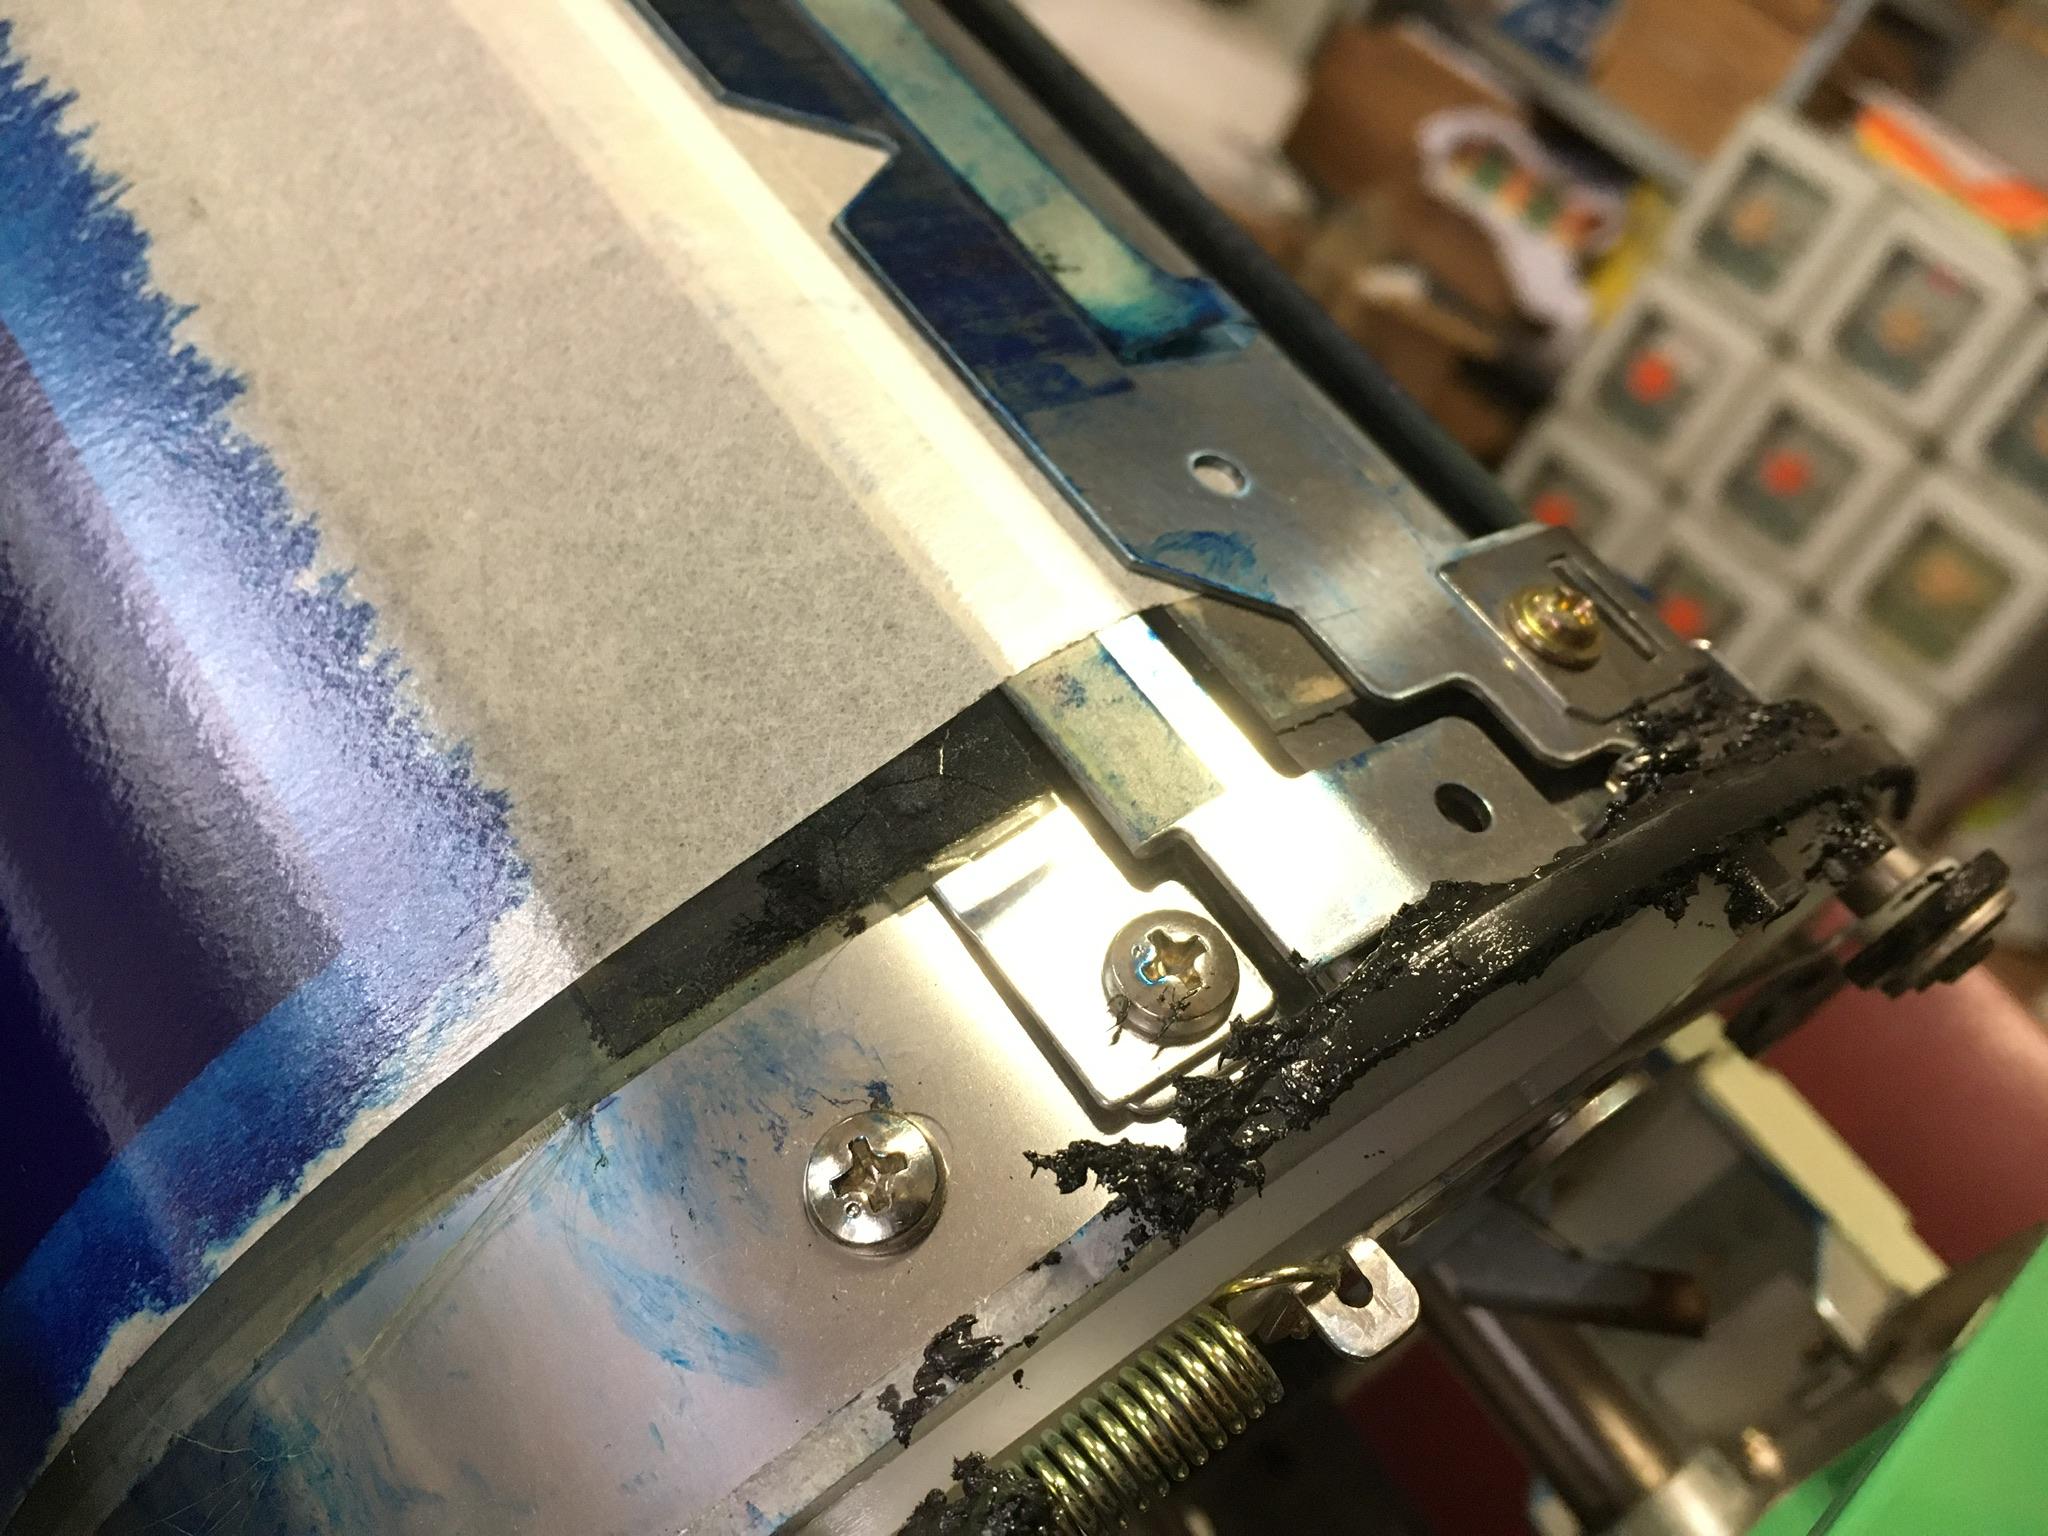
note: clean the drums as they will have traces of the worn out part and could mess up the new part.