How to install the Mac printer driver for risograph machines
| How to install the Mac printer driver for risograph machines | |
|---|---|
| Difficulty | Intermediate |
| Duration | 10 minutes |
It can be a non-intuitive process to install Mac drivers for machines capable of digital printing (all ![]() models, all two-drum machines, higher model
models, all two-drum machines, higher model ![]() and
and ![]() machines, and some older one-drum machines with the correct attachments). The following are some of the established methods of installation.[1]
machines, and some older one-drum machines with the correct attachments). The following are some of the established methods of installation.[1]
Downloading and installing the RISO drivers
You download the drivers from riso.com/download.
For example, for an MF-9450 machine, go to the Series Category of Duplicator, and then MF Series for the Driver Type, and then it shows your computer’s operating system (for example, "macOS 10.15") and had a button to click to download the files. (Or you could select the OS by hand if you want a different one.)
The files that downloaded were actually just all of the available Duplicator model drivers for OS Catalina 10.15 — not just the MF series, but all the rest of the models. It also has a PDF of the Printer Driver Manual available, that is useful. (PrinterDriver_UsersGuide_MAC_ENG.pdf)
I went into the MF 9 Series folder of all the downloaded drivers and double clicked on MF 9x5xU Series Installer.app to run it.
If it asks for a serial number, you need the serial number of a driver, NOT the serial number of your RISO printer itself. (!!! THIS IS CONFUSING !!! It has nothing to do with the serial number that is physically on your riso machine!) Some older drivers are free or you can purchase physical CD from my local riso dealer to get the license -- this was full of outdated drivers that wouldn’t work on my computer BUT the case of the CD had the driver serial number. Some of the older models do not need a serial number. But if you're perplexed why typing in the serial number of your riso isn't working to install the printer driver -- that's because you're not supposed to do that. You need a serial number/license for the driver itself.
Installing the Riso as a printer on the computer
Once you've downloaded and installed the printer drivers, following the steps above, you're not done. You still need to add the RISO as a printer on your computer. Here's how:
- Open System Preferences
- Select Printers & Scanners
- Click the + icon in the lower left to bring up the dialog to add a new printer.
- Select Add Printer or Scanner, and the Add box will appear.
- Click the IP button. (We're going to add the Riso by its IP address.)
- Address: In the Admin section of the Riso, look up the IP address and fill that in here. For my machine, it's under the System tab, when I tap on the "Network Settings (IPv4)" button. It will be something like 10.1.0.1 or similar format.
- Protocol: Line Printer Daemon - LPD
- Queue: hold (Make sure that hold is entered in lowercase.)
- Name: RISO (This is what shows up in your list of printers -- you can name it whatever you like.)
- Location: Optional to fill in. (This is a hint for the physical location of the printer if it's being used in a school or office with many printers.)
- Use (dropdown menu): Change from Generic Postscript Printer to Select Software which will open the Printer Software dialog. (Screenshot below.) Type Riso into the search filter, and select the driver you just installed. Eg, for mine it is
Riso MF 9x5xU Series. Hit OK. - Hit Add to complete the process.
Now your RISO printer should appear in the Printer: dropdown in the system print dialog. Try it out. (See this tutorial for tips on how to print using the RISO mac driver.)
Riso printer driver install notes
Some things that might not be obvious from the Printer Driver Manual (and these are for an MF-9450; other models might be different, esp. if it doesn’t have built in networking):
- The riso needs to be physically connected to the computer or the internet router/network. I did this via a LAN Cat-5 cable. For example, if the network is a small router + an Apple AirPort, you can plug in the cable into the ethernet port on the back of the AirPort. That allows the riso printer to be seen by any computer on the wifi network, and you can "Print" to the risograph machine just as you would from any other wifi connected printer.
- It seemed like you might need to see the risograph printer on the network to get the IP address for setting up the printer driver the first time. After adding the printer initially, computers can see the printer in the list of options even if the risograph is turned off.
- Before updating to a different major version of Mac OS, you might want to check the website and make sure riso drivers are updated and available to download. For example, RISO Kagaku Corporation took almost a year to make the drivers for Catalina available - the OS came out in early October 2019, and the updated drivers took until the beginning of August 2020 to arrive. In the meantime, there were no drivers that would work for printing from that OS.
"The printer is in use" error message
Occasionally (after installing the driver, and it working correctly for a while), sometimes the print job manager app will say "spooling job" and then switch to say "the printer is in use" when the printer is not in use. Then the RISO will just not make a new master stencil to print. One fix is to remove the printer in System Preferences, by selecting the printer in the list and pushing the minus "-" button at the bottom of the list. Then, re-install the printer (using the instructions above). In some cases, it appears that the issue is that the IP address that the RISO shows in the Admin panel itself had changed.
Printer/Router IP Mismatch
If you can't print, it may be because the IP address the printer has set is incompatible with your router's settings; see instructions for Fixing a printer - router IP mismatch.
Viewing or editing the IP Address in the riso admin
Instructions for the MF-9450 follow; other touchscreen machines might be similar.
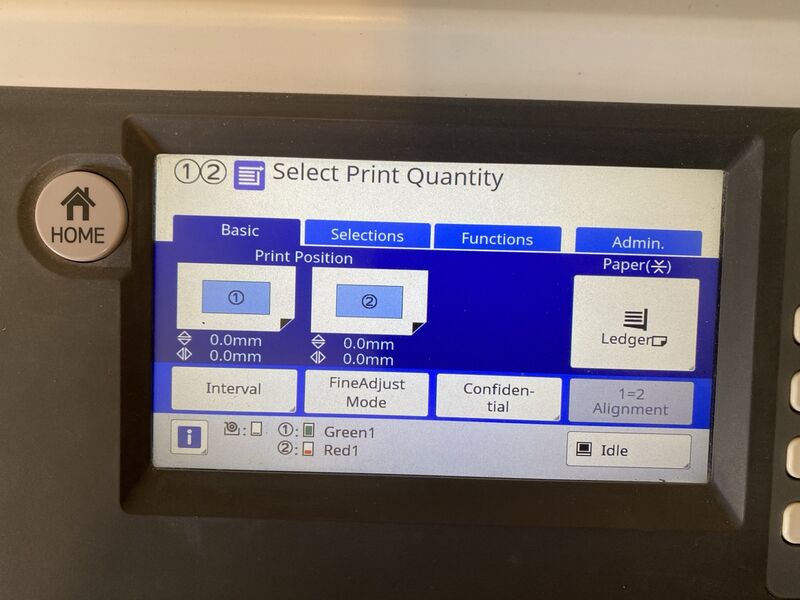
- Get into the main printing mode, where you see the tabs on the touch screen. Find Admin tab and tap it.
- Tap System on the side, then select Network Settings (IPv4)
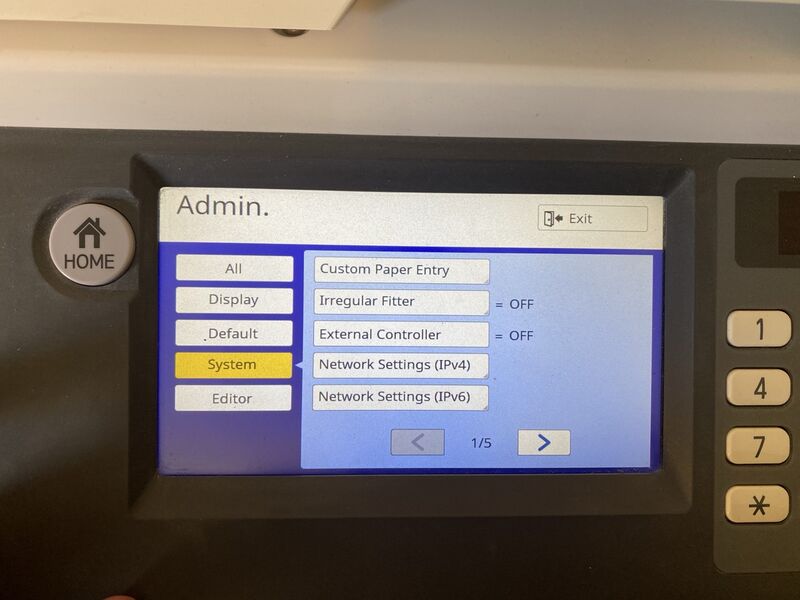
- The IP Address is in the top left of the list.

- Use the Manual Input to edit the IP address. To edit, tap each number of the IP address on the touch pad to select it (selected number turns yellow), then on the number buttons, use the C (clear) button to erase, and use the number pad to enter the new desired number.
- Press OK to save; it will give a screen saying that it is updating, and return to the Admin panel settings. Press the Exit button on the top right to exit out of the Admin and return to the main printing interface.


References
- ↑ The original version of this tutorial originally appeared on ameliagreenhall.com and was written by ANEMONE.